Removing redeye

David Jackson, Technical Director of Clares. Harrogate, 1995.
David Jackson, Technical Director of Clares. Harrogate, 1995.
Because the default colour used to denote the mask is red we need to change it by clicking on the top left icon in the toolbar attached to the mask edit window and altering the colour used to green. This makes the selected region easier to see against pixels that are already red (the red eyes).

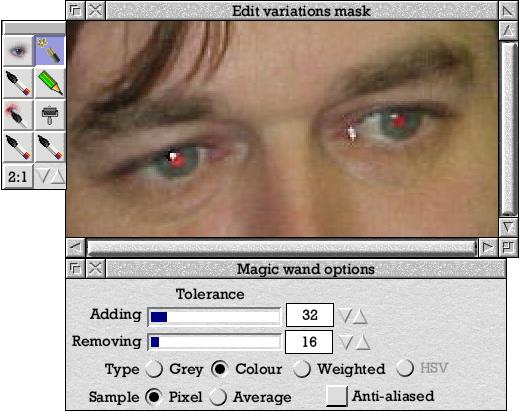
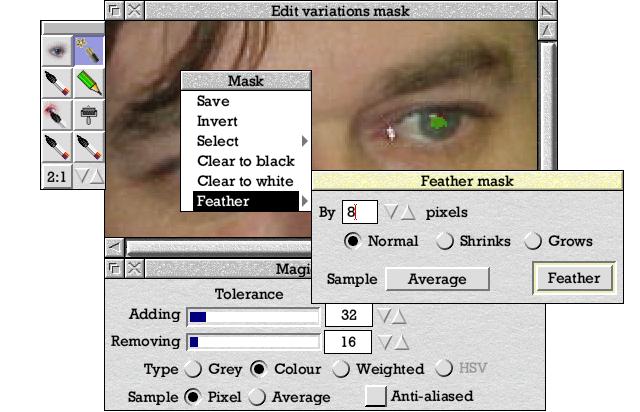
Roughly select the pupils of both eyes using the magic wand. If the selection floods into the surrounding skin click there with ADJUST to shrink it. You don't need to be pixel accurate with this but do try to get most of the red selected and tinted green. Now click menu, run the pointer through the Feather item, change the feather size to 8 pixels and choose Feather in the dialogue to blur the selected area slightly.
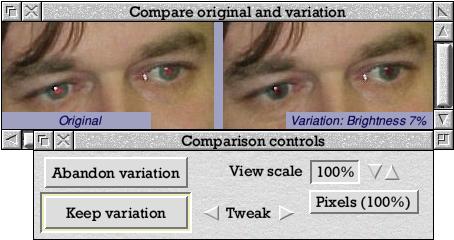
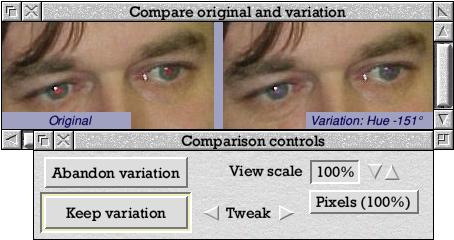
Now that we have a mask made several of Variations effects can be used to reduce or remove the 'red eye' effect. Here are just a couple of examples, displayed using the 'Thumbnail -> Try at full size...' menu item. Details of the effect used and the amount appear in the dialogue box beside the original unaltered image.