Local contrast enhancement
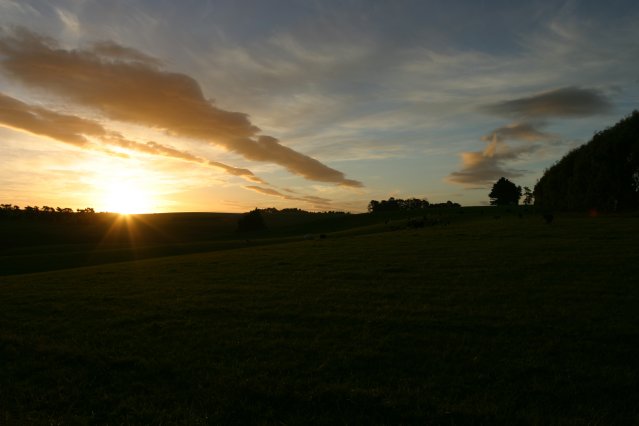
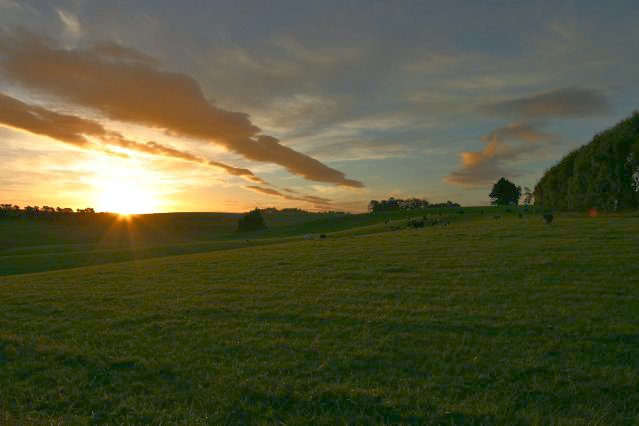
Typical boring late afternoon scene shot from our gateway.
Typical boring late afternoon scene shot from our gateway.
I could see a lot more of the surrounding countryside than the camera did because of the way the human eye works. As our concentration moves around a scene the eye adapts in a way no camera can manage. It automatically adjusts its sensitivity and the brain builds up a picture "in its minds eye" that allows us to see both the relatively dark landscape and a dramatic sky at the same time.
One way to capture such images with a camera is to put it on a tripod and make two exposures - using exposure compensation expose one image so that the landscape is correctly photographed with a slow shutter speed and the second identical image using a much faster shutter speed for the dramatic sky. These images can then be merged digitally later [subject of a future tutorial?].
However tripods are a pest and it is not always possible to use this technique particularly if there is a moving object such as an animal in the scene.
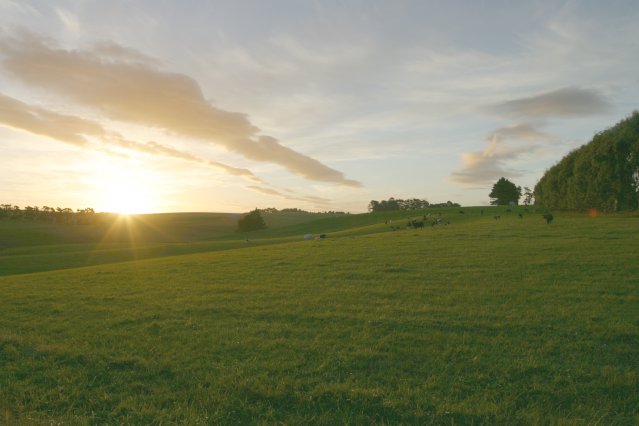
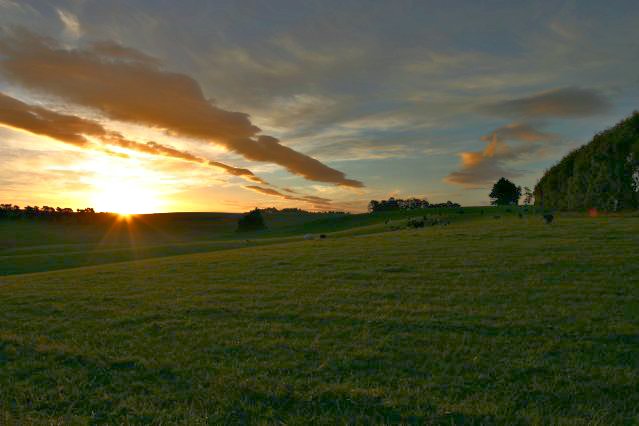
Using the gamma feature found in many programs (including Variations) it is
often possible to bring out a lot of detail in the foreground landscape - but
this comes at the expense of badly washing out the sky:
To avoid this in Variations we create a graduated mask that concentrates the effect on the areas of the image we most want to change. Thus:
Click menu, choose "Edit mask..."
Click menu over the mask edit window and choose 'Select -> Shadows'
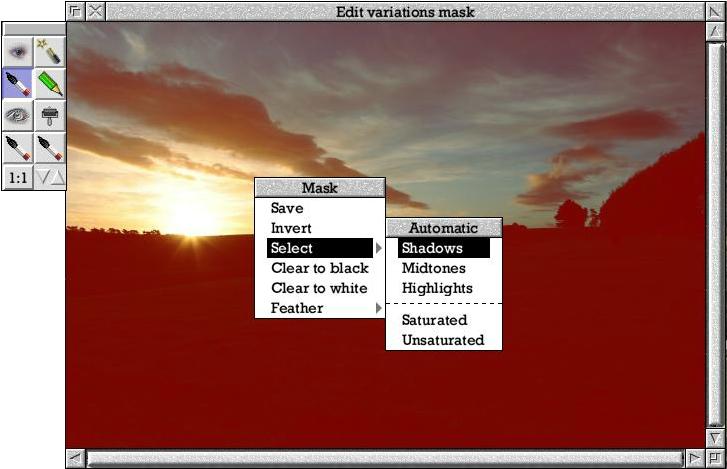
This mask attenuates the amount of effect that will applied to the image. Areas of the mask strongly red tinted get lots of change. Areas with little or no red tint aren't modified much at all. As you can see choosing 'Select -> Shadows' selects shadow areas of the image most strongly.
Choose the gamma effect in the variations thumbnails window and click on thumbnails to increase image gamma.
Around 300% is about right for this image. You don't want to overdo it and lose the 'sunset landscape' effect entirely.
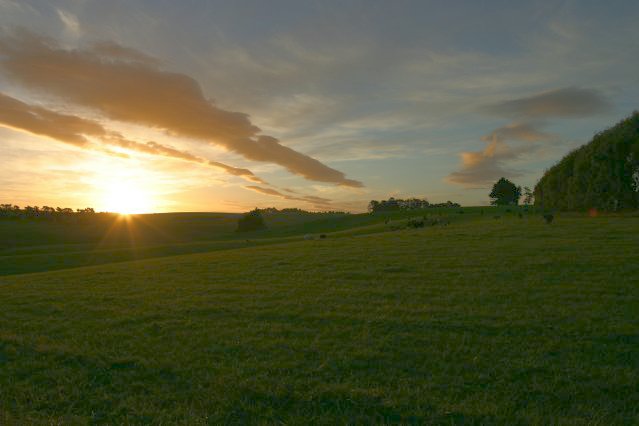
Now the foreground detail is visible and the sky still looks ok, but it could
do with a subtle tweak. To avoid messing up our newly revealed foreground
landscape we invert the previous mask so that more change is now applied to the
sky and less to the landscape. Now apply a gamma change of about 80% (the inverted mask will concentrate its effect on the clouds). The image will now look like this:
In the mask edit window click menu and choose. 'Clear solid'. This makes a plain mask that applies all of the effect to the image equally. Click menu over the variations or full view windows and choose 'Image -> Enhance...'.
The image enhancement dialogue will open. Play with the sliders in this window if you like (and try dragging over the preview area to see 'before' (while you're dragging) and 'after' (when you release the mouse button). For this image the default settings provide a pleasing effect without overdoing it. Click on the 'Reset all' button to get back to them and then on Apply.
This gives us:
Which has put a bit of contrast back into the foreground landscape which the gamma boost flattened slightly.