Moving Auntie Muriel
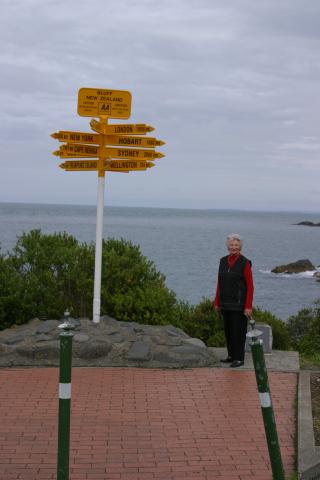
My Aunt. Sterling Point signpost, Bluff, NZ.
My Aunt. Sterling Point signpost, Bluff, NZ.
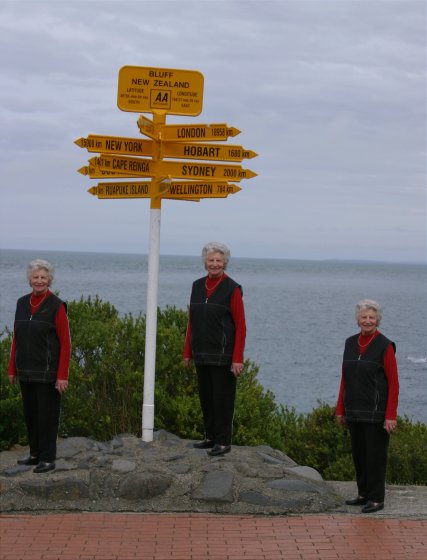
My aunt visited from the UK earlier this year and left her organised tour group for a couple of days to meet with her brother for the first time in 40 years. Before returning her to the tour we stopped off briefly at Bluff for a quick photo beside the Sterling Point signpost which is right on the south coast of New Zealands South Island.
Auntie Muriel was a little too far from the sign when I took the photo, the day was overcast and murky and there are a number of distracting bent poles in the foreground where some loon had tried to park their car in the chilly waters of Foveaux Straight. As a result it's never going to be a top-notch photo. We can't readily organise a re-shoot so what can be done?
Quite a lot...
First, let's tackle those poles. Load the source image, get a full view on it and choose the 'Edit' button in the toolbar attached to full view.
Select the clone tool in the pane that pops up on the left of the window and then hold Ctrl down and click just to the right of one of those poles.
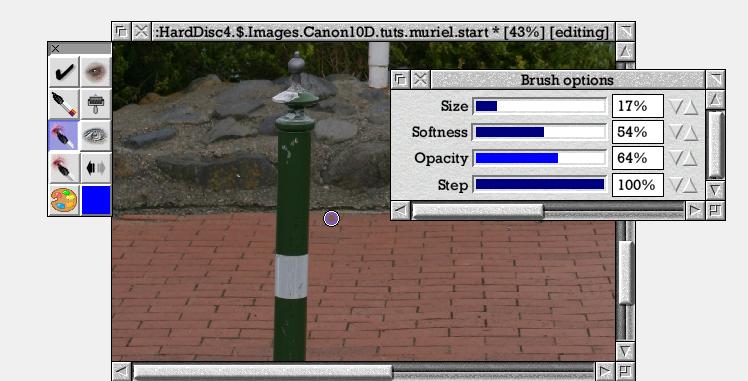
Setting the sample source point.
Move over the pole at the same vertical position as the sample point and start painting. I suggest you work down and leave the bit with the rocks behind for later.
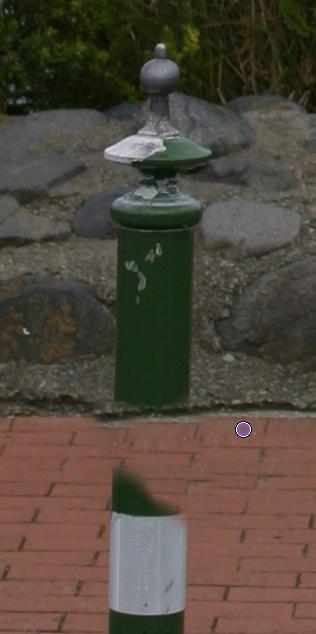
Going, going...
It can be tricky getting the cloned in tiles aligned properly. It all depends on the relative positions of the initial sample point and the place where you start painting. They have to be 'in sync' with the repeating pattern of the tiles. If you don't like the look of how it's going stop painting and click on the undo button in the edit toolbar to revert and then try again with either a slightly different sample position (Ctrl-click to set remember) or initial paint position.
Repeat for the other poles and the rocks. Experiment and try to keep the texture of the cloned in objects looking as 'natural' as possible. Often it helps to change the sample source position to avoid repeating patterns appearing.
Poles pole-axed.
Now we want to move my Aunt. Open the mask editor by clicking Menu and choosing 'Edit mask...'. Using the path tool as described in several of the other tutorials to trace around her outline and then render a filled path to select her.
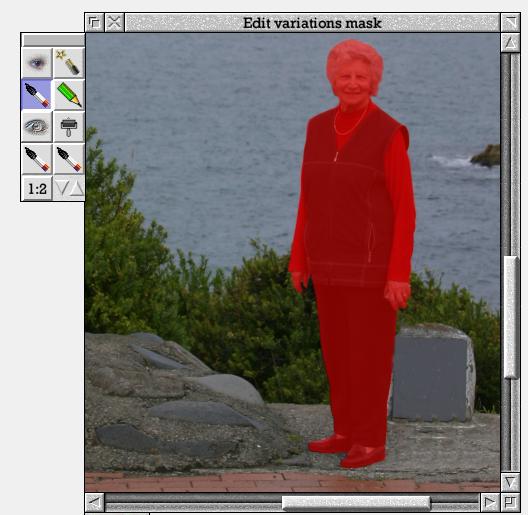
Selected aunt.
Now back in the full view window move the sample point to my Aunts shoe (we're going to start at the bottom and work up) by Ctrl-clicking there. Move to a place where you'd like her feet to appear and start painting in her clone. The mask you created controls the area sampled from so you'll paste only her body, not the surroundings.
That just leaves the task of cloning out the original which is a similar job to the one of getting rid of the poles, although you'll need to switch back to the mask editor and choose 'Clear transparent' from it's menu first otherwise you'll find the original aunt is 'protected' and can't be removed.
Oops. The one in the middle perhaps?
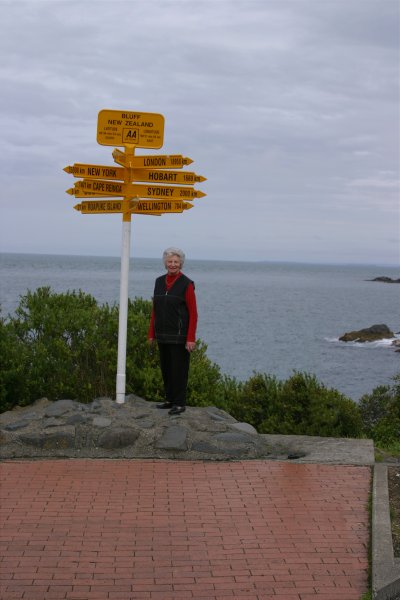
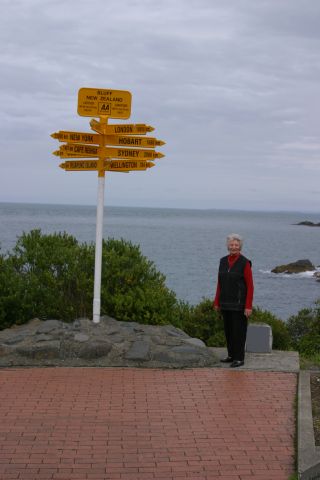
Ta-daaa!
In the end I went for quite a tight crop on the signpost and my aunt. Click on the small version below for a larger one (440KB). You'll notice when you do so that the full size version isn't quite perfect. There is a trace of a halo around my aunt where I didn't mask her off perfectly and her hair which was against sea looks slightly artificial placed against sky. More work with the masking tool and a different placement of the clone would have improved that.

Job done.
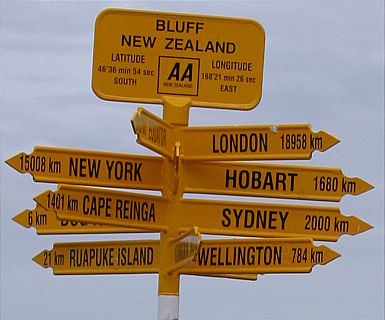
London is ... a bit of a hike.